

Originally published April 9, 2016|Updated October 27, 2026
You finally bought the classic car of your dreams. It’s sitting in the driveway or the garage, and you’re grinning ear to ear. Then the second thought hits: “Now what?”
That feeling is normal. Classic car restoration is a big job, but it gets a lot less scary when you break it into steps. Whether you’re working on a muscle car or an antique, the basic process is the same. You learn the car, check it over, gather parts, take it apart and bring it back to life.
Here’s how to get started, one step at a time.
Step 1: Do Your Research Before You Touch a Wrench
The more you know about your car, the better your decisions will be. Start with the basics:
- Production details: Find out what engine, transmission and options your car left the factory with.
- Factory manuals: A service manual and an assembly manual show how everything fits together.
- Owner forums and car clubs: Other owners of your model have usually already solved the problem you’re about to face.
- Local restoration shops: Even if you plan to do most of the work yourself, a good shop can point you to hard-to-find parts and share tips you won’t find online.
If you want a second opinion on the big picture, American Collectors Insurance offers a beginner-friendly guide to classic car restoration that covers planning and realistic expectations.
Also decide what “restored” means to you. Do you want it exactly like it left the factory, or a reliable weekend cruiser with a few upgrades? That one choice affects your budget, your parts list and even your car’s value later on.
Step 2: Inspect the Car From Bumper to Bumper
Before you buy a single part, go over the whole car. Take your time and bring a flashlight and a notebook.
Check these areas first:
- Rust: Look at the floors, trunk, rocker panels, wheel wells and the bottoms of the doors and fenders. Rust is often the biggest cost on an old car.
- Engine and drivetrain: Look over everything from the engine block to the belts and hoses. Check for leaks, cracks and worn parts.
- Electrical system: Old wiring can be brittle or patched together. Check every connection and note anything that looks off.
- Brakes, steering and suspension: These are safety parts, so don’t guess about them.
- Interior: Note the condition of the seats, carpet, headliner, dash and gauges.
Take lots of photos as you go. Then build a detailed list of what needs to be replaced, repaired or left alone. Parts that are in good shape and original are often worth keeping, because originality matters to many collectors.
Step 3: Find the Right Parts Without Overspending
Now you have a real list, so it’s time to go shopping. Classic car parts can come from many places, and it pays to check more than one:
- Classic car parts dealers and specialty suppliers
- Salvage yards, which can be a great source for original trim and hard-to-find pieces
- Online marketplaces and car auction sites
- Swap meets and club classifieds
- Your local auto parts store for everyday items
For basics that won’t affect the car’s value, like belts, filters and spark plugs, staying local is a simple way to save time. For model-specific parts like trim, lenses and emblems, it’s worth looking harder for the right piece.
One tip that saves headaches: keep a running spreadsheet or notebook of what you’ve bought, what you paid and what’s still missing.
Step 4: Take It Apart the Smart Way
This is the part everyone pictures when they think about restoration. It’s also where beginners make their costliest mistakes, so slow down. Take the time to review a trusted antique car restoration manual for ideas to help you stay on track. (As an Amazon Associate I earn from qualifying purchases.)
Stay safe first. Disconnect the battery, work in a well-ventilated space, drain fluids properly and use sturdy jack stands. Never rely on a jack alone to hold up a car.
Document everything. Take photos before, during and after you remove each part. Put bolts and small pieces in labeled bags or containers. Future you will be very grateful.
Here’s the usual order of work:
- Engine: On many projects the engine comes out so it can be cleaned, rebuilt or repaired. Some engines can be worked on in the car, so check your plan before you pull it.
- Interior: Remove the seats and other interior parts. This lets you inspect the floors and clean up any hidden rust or wear. If your seats are worn, you can have them recovered or replaced.
- Wheels and suspension: Take the tires off and support the body securely so you can check the frame and underside.
Once the car is stripped down, it will feel lighter and much easier to inspect. This is your best chance to find problems that were hiding underneath.
Step 5: Get the Paint and Finish Right
Paint is where a restoration really shows. If you’re aiming for a factory-correct look, the goal is to match the color the car wore when it was new.
You don’t need the original paint brand, since many old paint companies are long gone. You do need the right color. Many cars have a data plate or trim tag that lists the original paint code, and a good paint shop can mix modern paint to match it.
Prep work matters more than the paint itself. Rust repair, bodywork and sanding take the most time. If you’re new to this, hiring a pro for paint and body can be money well spent.
Step 6: Finish the Paperwork and Hit the Road
When the last bolt is tight, you’re almost there. Before you take that first victory drive, make sure you have:
- A current registration and tag
- Proper insurance (many owners choose a policy made for classic cars)
- A safety check of your brakes, tires, lights and fluids
Then fire it up, roll down the windows and enjoy it. You earned it.
Common Classic Car Restoration Mistakes to Avoid
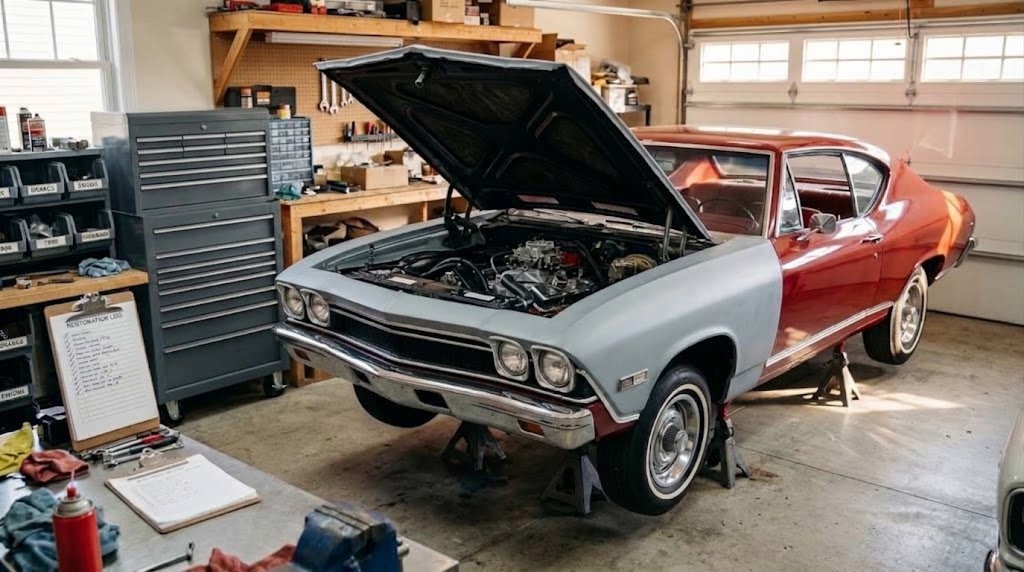
Most automotive restorations run into trouble for the same few reasons:
- Starting without a plan or a realistic budget
- Taking the car apart without photos or labeled parts
- Underestimating how much time bodywork and rust repair take
- Buying cheap parts that don’t fit and having to buy them twice
- Trying to do everything at once instead of finishing one system at a time
The best advice? Pick one area, finish it, then move on. Small wins keep you motivated.
Classic car restoration is a lot of work, but it’s also one of the most rewarding hobbies out there. Do your homework, inspect carefully, buy smart, work safely and take your time. Before you know it, that project car will be turning heads at the next cruise-in.
Join the conversation!
Follow Classic Cars Online US on YouTube for more classic-car features, restoration stories and automotive history.
Join us on Facebook to share your project cars, compare notes with other enthusiasts and keep the conversation going.
There’s always another amazing car worth talking about. We’ll see you at the starting line!
Classic Cars Online US may earn a small commission if you buy through links on this page, at no extra cost to you. As an Amazon Associate I earn from qualifying purchases.
I went over this web site and I think you have a lot of superb info, saved to bookmarks (:.
Great to hear! Thanks for taking the time to comment, be sure to stop back often.
Lovely just what I was searching for. Thanks to the author for taking his time on this one.
Thanks for taking the time to comment, be sure to stop back often.